1/16/18
Happy Tuesday everyone. We have some Texas style cold weather outside. There is a high of 27 degrees today...tomorrow may be in the 80's, you never know around here. But anyways it is a good day to stay in and practice my blogging.
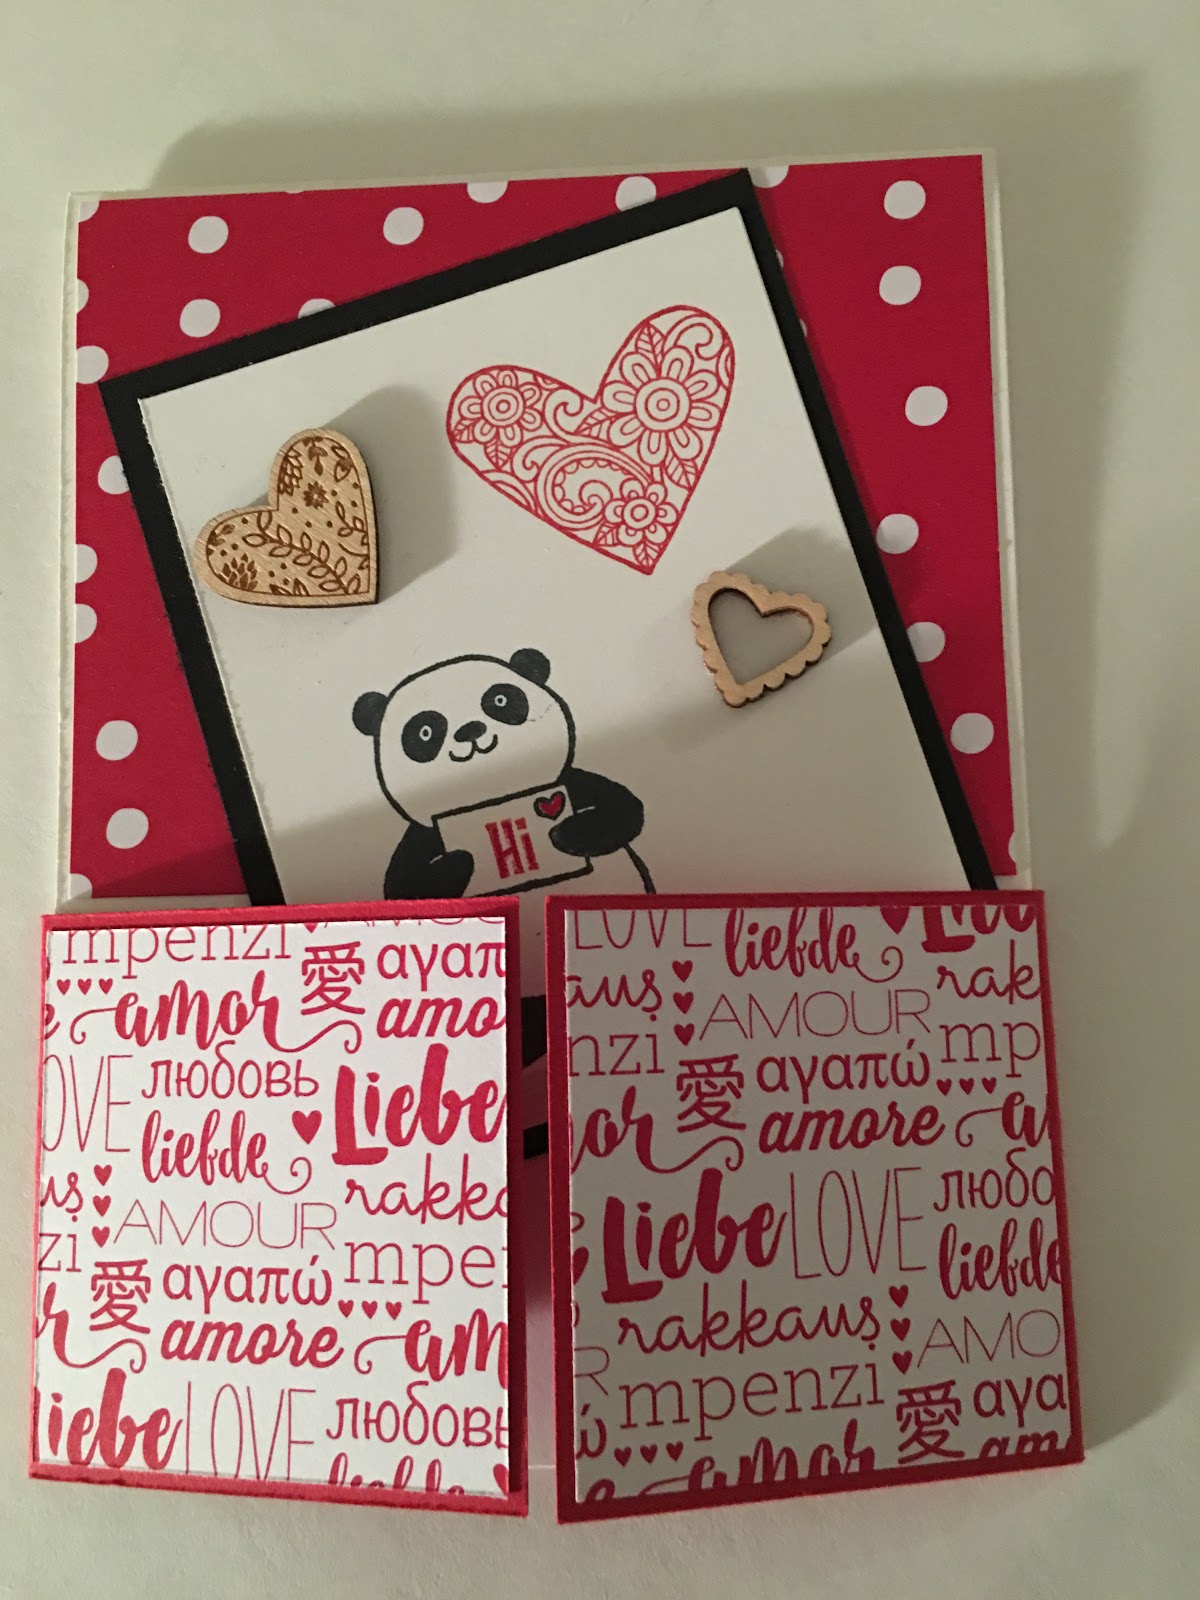
I had a card class this past weekend and I think I may enjoy it more than my regulars that come. It is a good time to get together for a couple of hours and do what I love to do, stamping. Here are some pictures of the items we make. They were really fast and easy....in fact to easy, I need to come up with some harder ones for next month. We were finished in record time. Of course that gave us more time to visit and munch on snacks.
I am on Pinterest all the time, so I do a lot of casing. Thanks to all you Pinterest posters, I don't know what I would do without you.
Tuesday, January 16, 2018
![](https://blogger.googleusercontent.com/img/b/R29vZ2xl/AVvXsEj36nNMvYOsn9bSl6XhVi-pr1gHWX7qv7dOVvMYeLmcNhjjGOGjiMvimL2k8n93_W78War-SL0_tQwBMH4hz8RjH779PY9OX2ZmoFovn7SyE5gVGz0XFAV36L5BrENUSI-iu43AVxVl9-Q_/s320/Special+Delivery.jpg)
I made this card for my granddaughter's first birthday. Using the Birthday Memories Designer Series Paper made it a fast and easy card to make and I love how it came out. Of course I cased part of it from Pinterest and then changed up some to go with materials that I have on hand.
The materials used were:
Birthday Memories Designer Series Paper
Blushing Bride Cardstock
Whisper White Cardstock
Blushing Bride Stitched Satin Ribbon (retired)
Number of Years Stamp Set
Large Numbers Framelits
Stitched Shapes Framelits Dies
Layering Ovals Framelits Dies
Ruffled Dynamic Textured Impressions Embossing Folder
Blushing Bride Ink Pad
Flirty Flamingo Ink Pad
I rubbed some Blushing Bride ink on to the embossing folder before adding my Whisper White paper and running it through the Big Shot. When I stamped the insideof the card, it ended up not being centered. It was way to the left so I cut down the front of the card by 1" (luckily I hadn't decorated it yet), added the ribbon to the inside and there you go...looks like I off centered the wording on purpose. I just love it when I can think outside the box and fix my mistakes easily. Believe me, it doesn't always happen.
Subscribe to:
Posts (Atom)
DIY Photo Album
As promised from my Facebook Live last night, I am here this morning to give you the measurements of the photo album I made. I am so sorry...
![](https://blogger.googleusercontent.com/img/b/R29vZ2xl/AVvXsEiLfgqUE9yGOxvfOhUVrt2zTJoiYN1uno_PpvuB9Gau48t5SCdH5ueXkEz6KhsNGdqfXqjn3HEIhM2fgoUE8kNIBgdKg-QUhutKa59fwJq6KQDGARUoD7V78R5uSPOgoaH8C6LR3D78vSL7/s320/Finished+Photo+Book+1.jpg)
-
As many times as I have gone through the Stampin' Up! 2020-2021 Annual Catalog, I never really even gave the Rustic Retreat Stamp Set a...
-
1/16/18 Happy Tuesday everyone. We have some Texas style cold weather outside. There is a high of 27 degrees today...tomorrow may be in t...