I hope everyone had a happy and blessed weekend and for some of you it is a 3 day weekend.
I have to pass on the conversation I had with my 3 1/2 year old grandson this past week. I was trying to work on my computer but it was not cooperating. I don't know if it was the computer or the internet but it reminded me of the dial up days, slow, slow, slow. I was getting frustrated and told my grandson that my computer was really really slow and that it must be getting old and his reply was "like you Grammie?" That was something I didn't have to be reminded of and I guess it is my own fault for telling him the same thing when he wants me to race him outside or get down on the ground and play with him. GRAMMIE IS GETTING OLD!!! But you know what, that's okay, I consider myself very blessed with my family and friends and I wouldn't have it any other way. But be careful what you say cause it may come back to haunt you!!!
Okay, on to business! Below is a video I did about my So Hoppy Together Scrapbook Pages. In the video I said that my stamped strips were 2x12. They are actually 3x12 and the designer black paper behind them are 4x12.
The strip at the bottom that I stamped on is the 3x12 with the 4x12 underneath it.
The polka dot paper is 4x6.
The embossed Granny Apple Green paper is 4x5 and I used the cut out portion for the greeting.
On the second page, the center green is 2x6.
Here is a list of the items used in the video. My Facebook page is Delightful Fun. Please visit my page to see my other posts. There is a special posted every Wednesday.
12 x 12 Whisper White Card Stock
12x12 Neutrals Card Stock
8 1/2x11 Granny Apple Green Cardstock
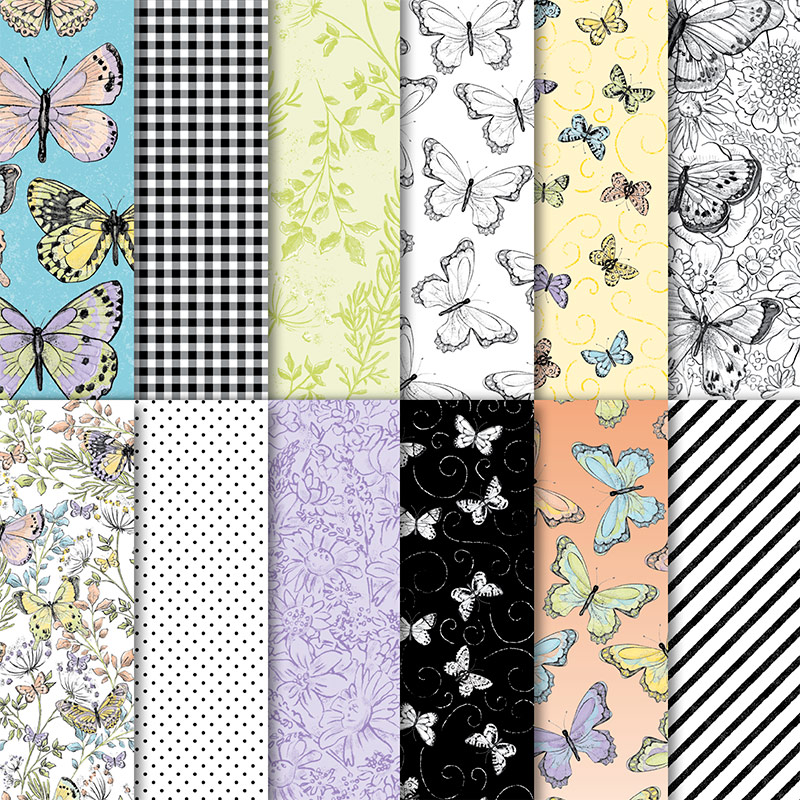
Botanical Butterfly Designer Series Paper
Free with $50 purchase
Special ends March 31, 2019
Silver Foil Sheets
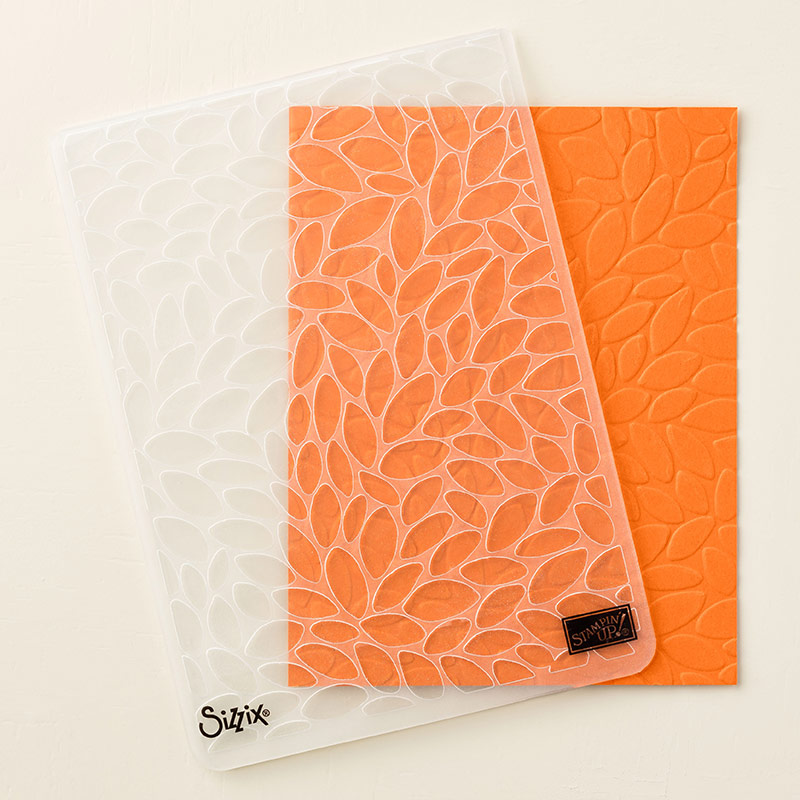
Petal Burst Embossing Folder
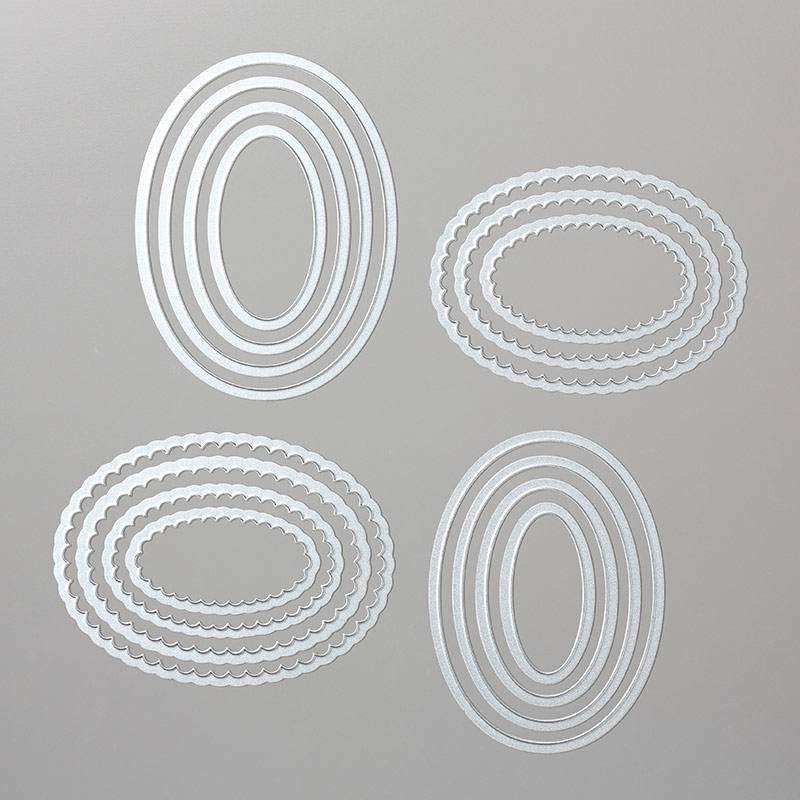
Layering Ovals Framelits Dies
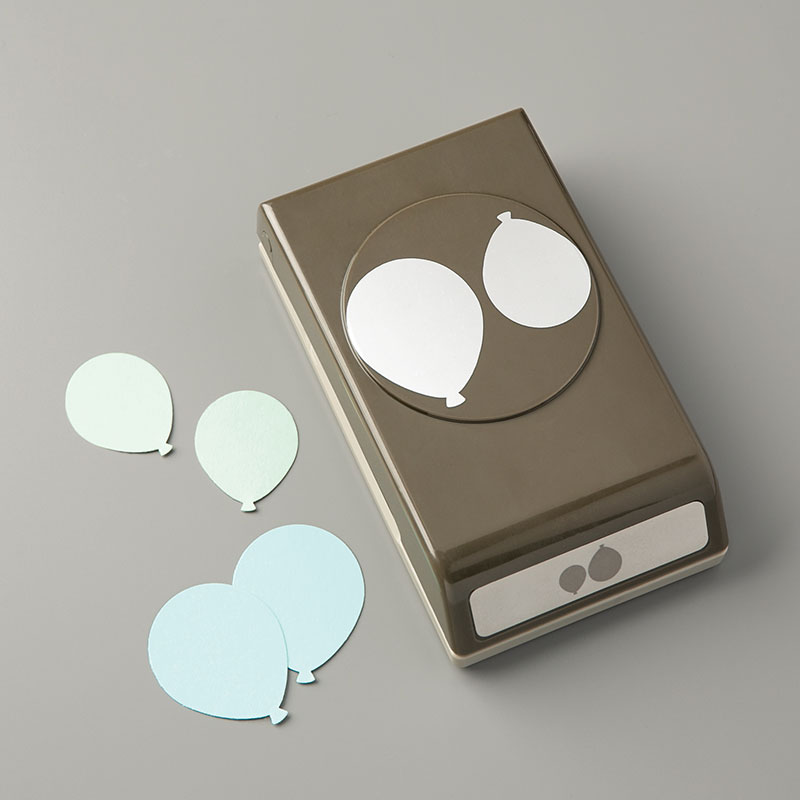
Balloon Bouquet Punch
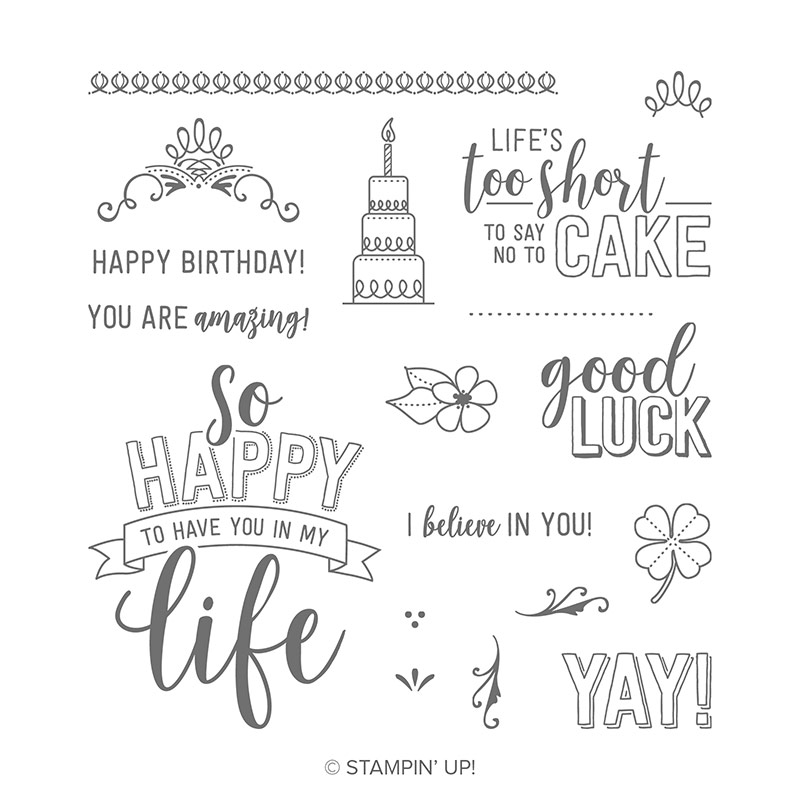
Amazing Life Photopolymer Stamp Set
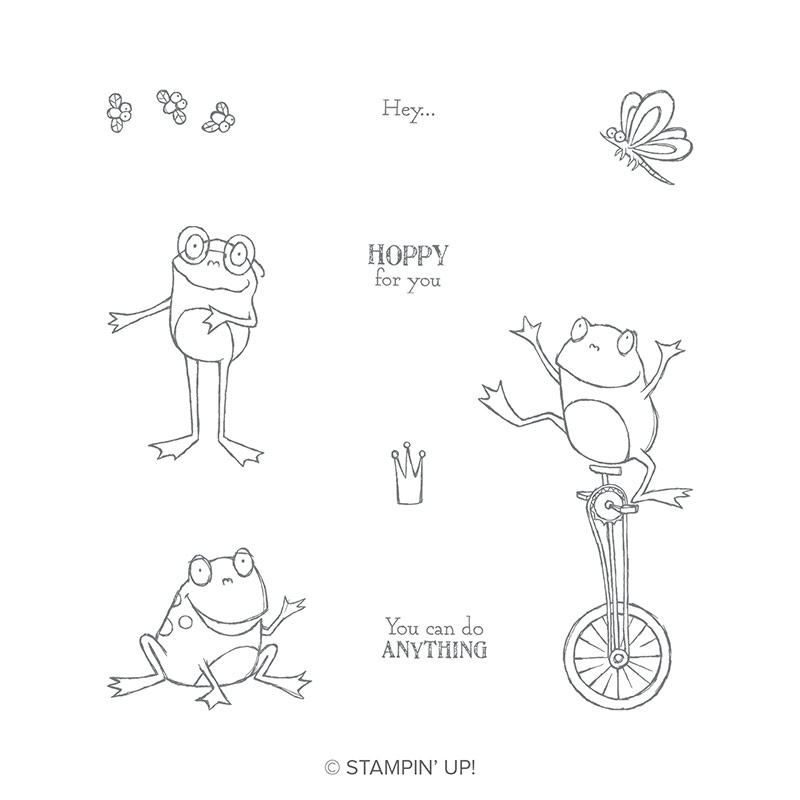
So Hoppy Together Cling Stamp Set
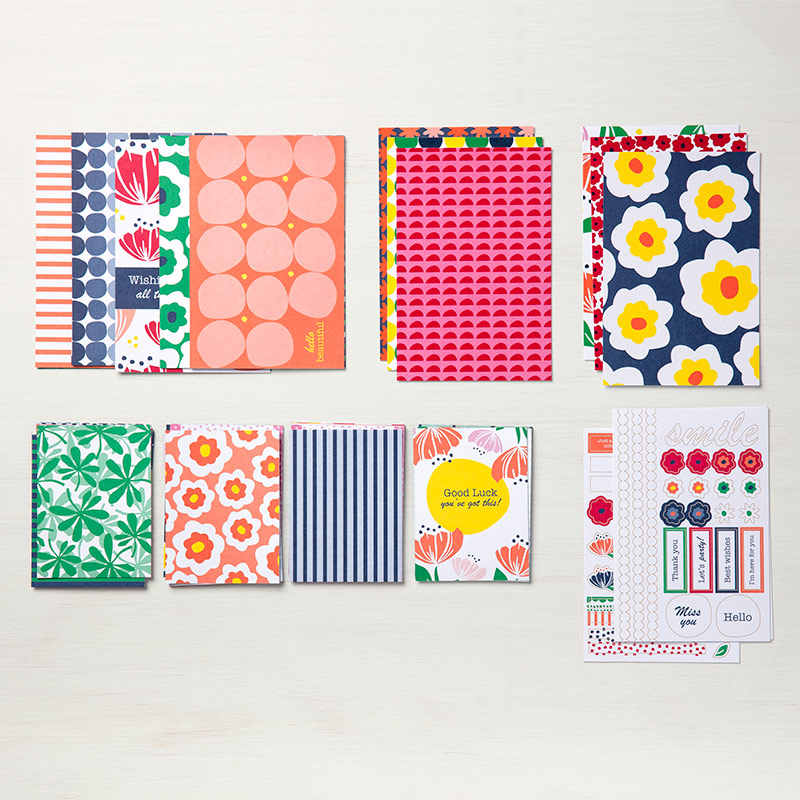
Happiness Blooms Memories & More Card Pack
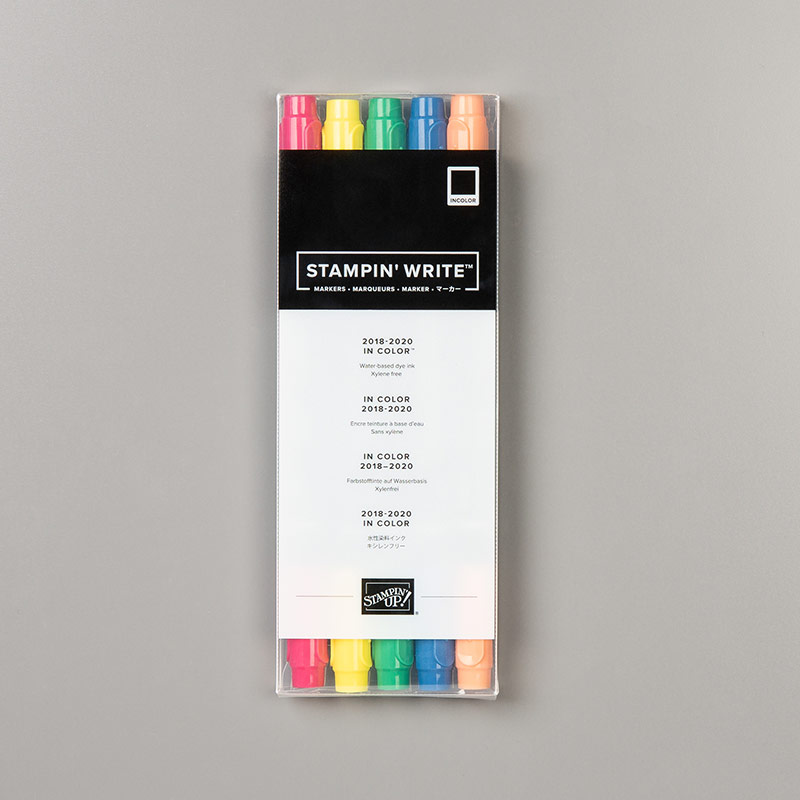
2018-2020 In Color Stampin' Write Markers
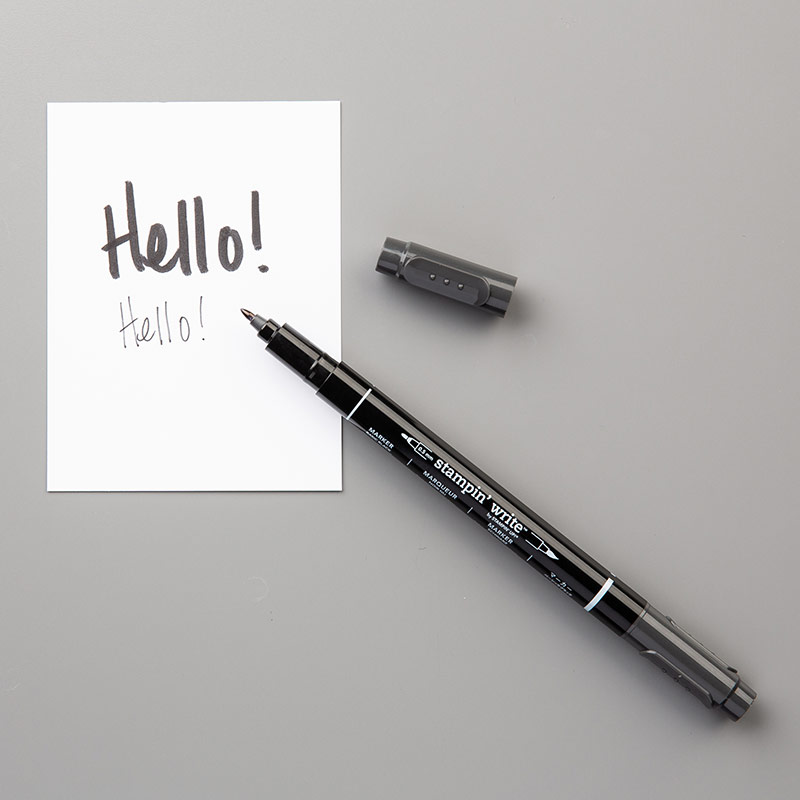
Basic Black Stampin' Write Marker
2017-2019 In Color Stampin' Write Markers
Linen Thread